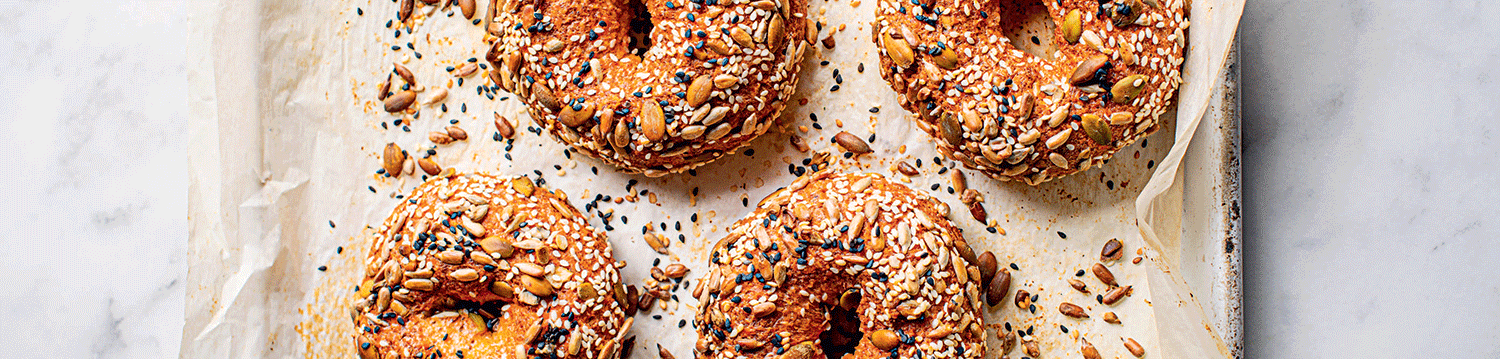
Red Lentil Bagels Recipe
Dominique says: “Psyllium husk plays a key role here, binding the dough in a similar way to the gluten in wheat, and it is also a source of soluble fibre to feed the gut microbiome.”
Per bagel
Protein: 10g
Fibre: 8g
Plant Points: 3
Makes:
4
Ingredients
- 150g dried red lentils
- 300ml boiling water (for soaking)
- 100 – 120ml filtered water (for blending)
- 25g psyllium husk flakes
- 1 tablespoon lemon juice
- 1 teaspoon sea salt
- 1 tablespoon extra virgin olive oil
- 1 teaspoon baking powder
- 1 tablespoon mixed seeds (e.g. sunflower, pumpkin, sesame)
Method
1. Put the red lentils in a heatproof bowl and cover with the boiling water. Once cooled, leave to soak, covered, in the fridge for at least 8 hours or overnight.
2. Preheat the oven to 200°C fan and line a baking tray with non-stick baking parchment.
3. Drain and rinse the lentils in a fine-meshed sieve, then place in a food processor with half of the blending water.
4. Add the psyllium husk flakes, lemon juice, salt and extra virgin olive oil. Blend until the mixture begins to form a dough.
5. Add the remaining water slowly. I usually need the full 120ml, but yours may need less or even a dash more. The amount of water you need can vary greatly depending on how long the lentils were soaked and how much water they absorbed. The dough should be a soft Play-Doh consistency. Not too hard, or they won’t rise properly, and not so soft that you cannot handle them. It should be slightly sticky to touch.
6. Lastly, add the baking powder. I add this at the end, as it will start to ‘fizz’ too soon if it comes into contact with the acidic lemon juice. I want the baking powder to raise the bagels in the oven and not in the processor. Pulse together again to combine.
7. Pour your mixed seeds onto a plate. Divide the dough into four portions, roll into balls, and dip one side into the mixed seeds. Flatten the balls onto the lined baking tray, seed side up. Use the end of a wooden spoon handle to create a generous hole in the centre of each one (make the hole larger than you think, as it will shrink slightly during baking).
8. Bake for 25–28 minutes, until golden on the outside, well risen, and cooked through. Keep a close eye on them! The crust should be firm to the touch. Allow to cool before serving.
Store in an airtight container for up to 3 days. Or, freeze and consume within 1 month; defrost, slice and toast.
Extracted from No-Nonsense Nutrition: The science-based plan to transform health, lose weight, feel amazing by Dominique Ludwig (£26, Bluebird) Photography © Smith & Gilmour
Read more recipes from Your Healthy Living...
Read the Your Food articles archive here...