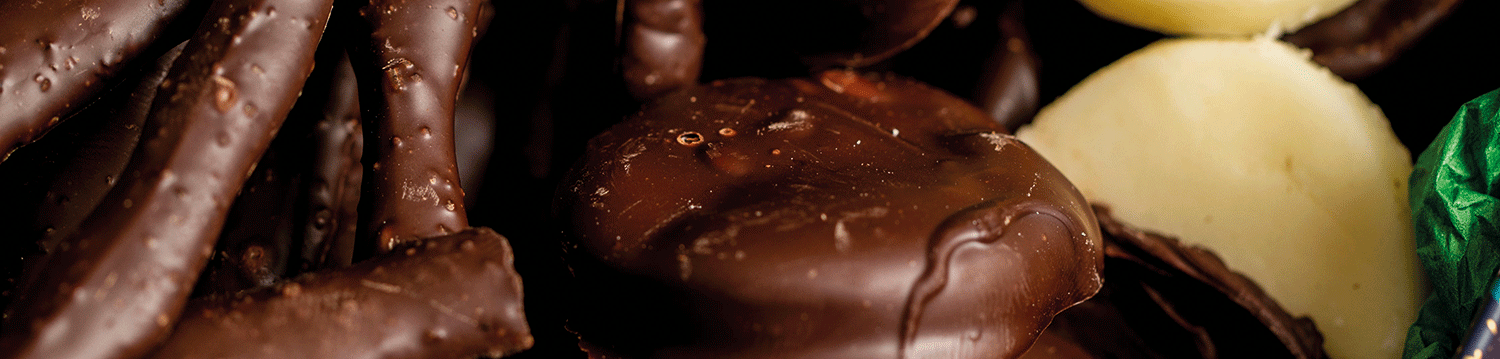
My homemade Matchmakers Recipe
- Dairy-free
- Egg-free
- Gluten-free
- Nut-free
- Peanut-free
- Sesame seed-free
- Soya-free
Prep time:
5 minutes (20 if tempering)
Makes:
12–14
Ingredients
- 2 tbsp demerara sugar or coarse granulated sugar
- ½–1 tsp orange essence or ½ tsp mint essence
- 85g dairy-free dark chocolate
Method
1. Add the essence of your choice to the sugar, stir well and then leave to dry out for 10 or so minutes. I’d advise tasting the sugar once the essence is added, as you may want to add more essence depending on how much flavour you like in your chocolate sticks.
2. Meanwhile, line a baking sheet with parchment and place in the fridge.
3. Ideally, temper the chocolate (see instructions below) or just gently melt until it is completely fluid.
4. Stir the flavoured sugar into the chocolate. Transfer to a piping bag and snip off the tip; you want an opening of about 4mm.
5. Pipe long straight lines of chocolate onto the chilled baking sheet. Leave to set. If the chocolate is not tempered, you will need to keep these in the fridge.
Peppermint Creams Recipe
- Dairy-free
- Egg-free
- Gluten-free
- Nut-free
- Peanut-free
- Sesame seed-free
- Soya-free
Prep time:
12 hours (including drying time)
Makes:
22–24
Ingredients
- 320g icing sugar, sifted
- 40g dairy-free margarine, melted
- ½ tsp peppermint essence
- 1 tbsp water
- 130g dairy-free dark chocolate
Method
1. Place the sifted icing sugar in a large bowl, then pour in the melted margarine, peppermint essence and water.
2. Mix to form a soft (but not sticky) dough. If it’s too wet, add more icing sugar and if dry, add more water.
3. Knead lightly on a surface dusted with icing sugar to make the dough smooth. Roll out, using icing sugar rather than flour, to 0.5cm thickness and cut out disc shapes with a cookie cutter.
4. Place the shapes on a lined baking sheet and leave in a cool place overnight to dry out. Make sure you turn them so they dry on both sides.
5. Melt the chocolate in a microwave or over a bain-marie until the chocolate is fully fluid. Ideally follow the tempering guidelines below. Once the chocolate is tempered, dip in the creams so they are fully submerged and completely coated.
6. Place back on the lined baking sheet and leave to set, then keep in a cool place or the fridge.
Top Tip: To make it easier to coat the peppermint creams, add 10g of cocoa butter (melted to 45°C) to the liquified or tempered chocolate.
How to temper chocolate
If you can find the time to temper the chocolate you will notice the difference and get a better finished product. It will be shiny, snappy and have a greater shelf-life.
All chocolate has already been tempered when you buy it and can be re-tempered indefinitely. I would recommend the seeding method for which you will need an accurate digital probe thermometer and a bain-marie.
Finely chop the amount of chocolate you need for the recipe and place two thirds in the bowl of the bain-marie. Gently melt until you reach 45°C and the chocolate is fully liquified. Take off the heat and start to add small amounts of the remaining chopped chocolate, stirring well until each addition has fully melted and the temperature comes down to 27°C. Place the bowl back over the hot water of the bain-marie and increase the heat to 32°C. Do not let it get too hot, or you will have to start the process from scratch. Your chocolate is now fully tempered and will set with a shiny, snappy finish.
Extracted from The Friendly Baker by Lucy Parr. Priced at £23 and published by Meze Publishing: mezepublishing.co.uk/
Read more recipes from Your Healthy Living...
Read the Your Food articles archive here...